· gardening tips · 17 min read
Gardening 101: Everything You Need to Know to Grow Watermelons
Dive into Gardening 101 with our all-inclusive guide to watermelons! From seed selection to harvest, we cover every step for luscious, juicy melons. Perfect for beginners or seasoned gardeners. Start your watermelon adventure today!
Introduction to Growing Watermelons
Watermelons are a beloved fruit, known for their juicy, sweet flesh and refreshing taste. Growing watermelons at home can be a rewarding and satisfying experience. In this section, we will explore the reasons why you should consider growing watermelons and the basic requirements for a successful harvest.
Why Grow Watermelons?
If you don’t have a garden you can grow watermelons in grow bags or containers
There are several compelling reasons to grow watermelons in your garden or in pots. First and foremost, homegrown watermelons taste incredible. The flavor of a freshly picked watermelon surpasses that of store-bought ones. You have the opportunity to savor the sweetness and juiciness that comes from picking the fruit at its peak ripeness.
Additionally, growing your own watermelons allows you to choose from a wider range of varieties. Supermarkets often carry limited watermelon varieties, but by growing them yourself, you can explore heirloom varieties, unique colors, and different sizes to suit your preferences.
Growing watermelons also provides an excellent opportunity to bond with nature. Tending to your watermelon plants, watching them grow, and eventually harvesting the fruits can be a fulfilling and therapeutic experience. It allows you to connect with the cycles of nature and experience the joy of nurturing a living plant.
Basic Requirements for Growing Watermelons
To successfully grow watermelons, there are a few basic requirements to keep in mind. First and foremost, watermelons thrive in warm weather and full sunlight. They require a minimum of 6-8 hours of direct sunlight each day to grow and produce sweet, juicy fruits.
Watermelons also need well-draining soil. They prefer loose, sandy soil that allows for proper root development and prevents waterlogging. If your soil tends to retain water, consider amending it with organic matter, such as compost, to improve drainage.
The pH level of the soil should ideally be between 6.0 and 7.5 for optimal growth. Conduct a soil test to determine the pH of your soil and make necessary adjustments by adding soil amendments if needed. For more information on soil preparation techniques, refer to our article on soil preparation techniques.
Watermelons are heavy feeders, so fertilizing is essential for their growth and development. Incorporate compost or well-balanced fertilizers into the soil before planting to provide the necessary nutrients. As the watermelon plants grow, additional fertilization may be required. Consult our article on fertilizing watermelons for detailed information on nutrient requirements.
By understanding the reasons behind growing watermelons and the basic requirements for their successful cultivation, you are on your way to a bountiful harvest. In the next sections, we will delve into selecting the right watermelon variety, preparing the soil, and planting techniques. Stay tuned to learn more about the exciting journey of growing your own watermelons!
Selecting the Right Watermelon Variety
Growing watermelons can be a rewarding experience, but it’s important to choose the right variety that suits your growing space and climate. In this section, we will discuss two key factors to consider when selecting the right watermelon variety: determining your growing space and considering climate and season.
Determining Your Growing Space
Before selecting a watermelon variety, it’s crucial to assess your available growing space. Watermelons require ample space for their sprawling vines to spread and develop. Whether you’re planning to grow watermelons in a garden or in pots, it’s important to ensure that they have enough room to grow without crowding other plants.
The recommended spacing between watermelon plants varies depending on the variety. Typically, vining varieties require about 5 to 6 feet (1.5 to 1.8 meters) between plants, while compact or bush varieties may require less space. Keep in mind that watermelon vines can also spread horizontally, so plan accordingly to provide enough space for the vines to stretch out comfortably.
If you have limited space, consider growing watermelons vertically using trellises or supports. This method can help maximize space utilization and prevent the vines from taking over your garden. However, not all watermelon varieties are suitable for vertical growth, so be sure to choose a variety that is compatible with this method.
Considering Climate and Season
Watermelons thrive in warm climates and require a long growing season to reach maturity. When selecting a watermelon variety, it’s essential to consider your local climate and the length of your growing season.
Watermelons are typically categorized into short-season, mid-season, and long-season varieties. Short-season varieties require fewer days to mature and are suitable for cooler climates or regions with shorter growing seasons. Mid-season varieties are more adaptable and can grow well in a wider range of climates. Long-season varieties require a longer growing season and are best suited for warmer regions with extended summers.
To determine the suitable watermelon variety for your climate and season, consult your local agricultural extension office or gardening resources specific to your region. They can provide valuable information on the best varieties for your specific area and offer guidance on the ideal planting times.
By considering your growing space and local climate, you can select the right watermelon variety that will thrive in your garden or pots. Remember to also consider other factors such as companion plants, fertilization needs, and harvesting techniques to ensure a successful watermelon growing experience. Check out our article on tips for growing watermelons for more information on growing healthy and delicious watermelons.
Preparing the Soil
Before you start growing watermelons, it’s essential to prepare the soil properly to provide the optimal conditions for their growth and development. This section will cover two crucial aspects of soil preparation: soil pH and composition and soil preparation techniques.
Soil pH and Composition
Watermelons thrive in well-draining soil with a slightly acidic to neutral pH level. The ideal pH range for watermelons is between 6.0 and 7.0. To determine the pH level of your soil, you can use a soil pH testing kit or send a soil sample to a local agricultural extension office for analysis.
If your soil pH is too low (acidic), you can raise it by incorporating ground limestone or dolomite into the soil. Conversely, if the pH is too high (alkaline), you can lower it by adding elemental sulfur or acidic organic matter, such as compost or peat moss.
In addition to pH, the composition of the soil is important for watermelon growth. Well-draining soil is crucial to prevent waterlogging, which can lead to root rot and other diseases. Sandy loam or loamy soil is ideal for watermelons as it provides good drainage while retaining adequate moisture.
Soil Preparation Techniques
Proper soil preparation is key to creating a favorable environment for watermelon plants. Here are some techniques to consider:
- Clear the area: Remove any existing vegetation, rocks, or debris from the planting area. This will create a clean space for your watermelon plants to grow.
- Loosen the soil: Use a garden fork or tiller to loosen the soil to a depth of at least 12 inches. This helps to improve aeration and root penetration.
- Amend the soil: Incorporate organic matter, such as compost or well-rotted manure, into the soil. This improves soil structure, fertility, and water-holding capacity. Aim to add a 2- to 4-inch layer of organic matter and mix it thoroughly with the existing soil.
- Level the soil: Smooth out the soil surface to create an even planting bed. This will help with water distribution and ensure that the watermelon plants have a stable foundation for growth.
Remember, soil preparation is a critical step in the success of your watermelon garden. By ensuring the proper pH level and composition of the soil and employing effective soil preparation techniques, you create an optimal environment for your watermelon plants to thrive.
For more tips on growing watermelons, check out our article on tips for growing watermelons. In the next section, we will explore the different methods of planting watermelon seeds or seedlings.
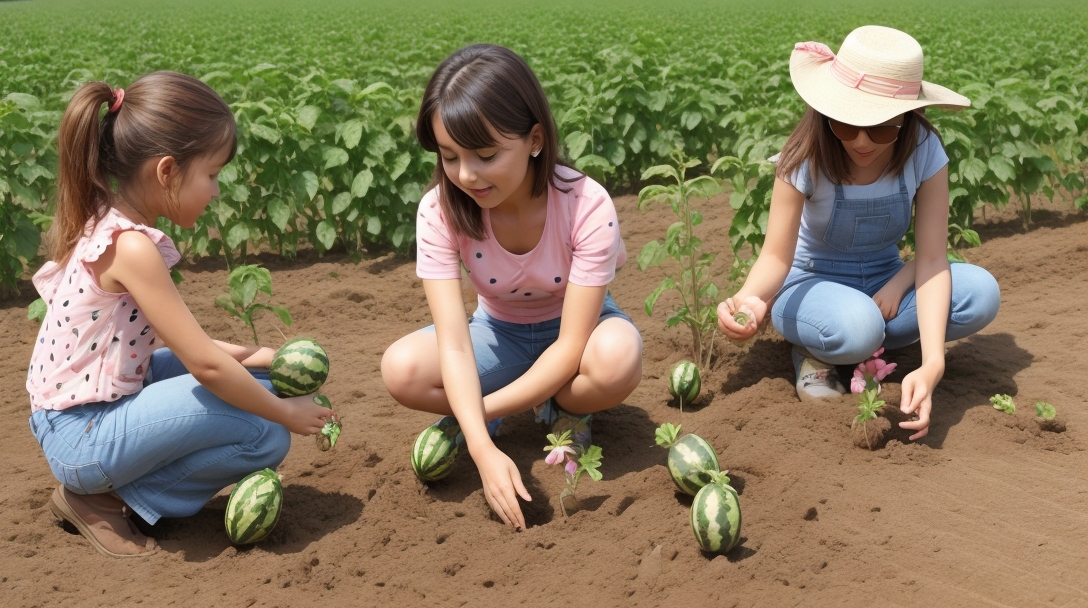
Planting Watermelon Seeds or Seedlings
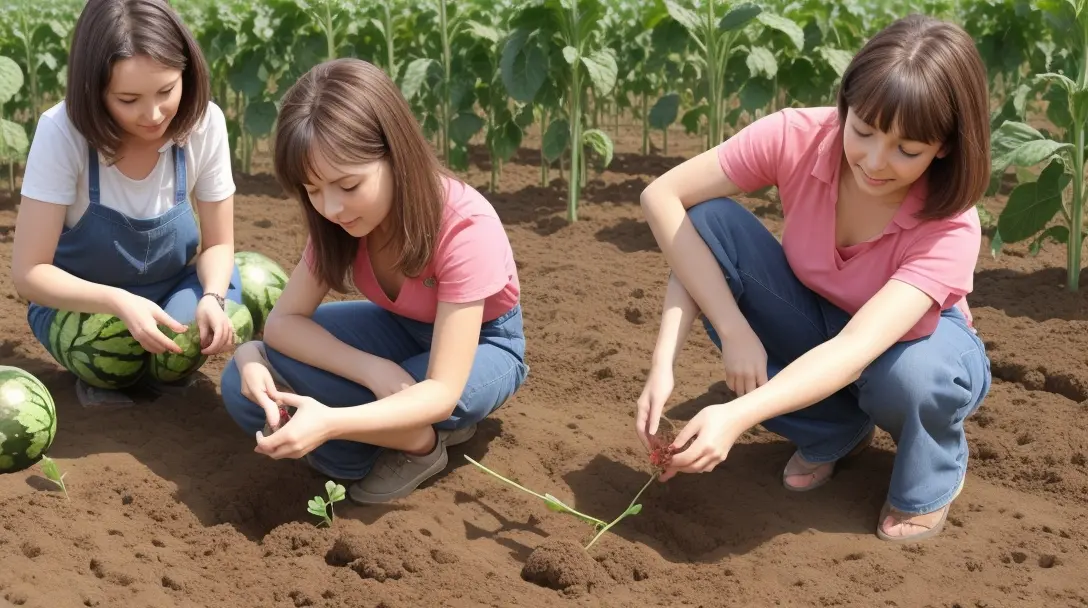
Once you have prepared the soil and selected the right watermelon variety, it’s time to plant your watermelon seeds or seedlings. There are two primary methods for planting watermelons: direct seeding and transplanting seedlings.
Direct Seeding
Direct seeding involves planting watermelon seeds directly into the ground where they will grow. This method is suitable for areas with a long growing season or where the soil and weather conditions are favorable for seed germination and plant establishment.
To directly sow watermelon seeds, follow these steps:
- Prepare the soil: Ensure the soil is well-drained, fertile, and has a pH level between 6 and 7. Incorporate organic matter, such as compost, into the soil to improve its nutrient content and structure.
- Create mounds or rows: Form mounds or raised rows in your garden bed, spacing them about 6 feet apart. This provides the watermelon vines with ample space to spread and grow.
- Plant the seeds: Plant 3-4 watermelon seeds in each mound or spaced 12-18 inches apart in rows. Sow the seeds about 1 inch deep into the soil and cover them with soil.
- Water the seeds: Gently water the seeded area, keeping the soil evenly moist but not waterlogged. Be careful not to disturb the seeds while watering.
- Thin the seedlings: Once the seedlings emerge and develop their first true leaves, thin them out, leaving only the strongest and healthiest plant in each mound or spaced 2-3 feet apart in rows.
- Provide support (optional): If you are growing large watermelon varieties, consider providing support, such as trellises or stakes, to keep the vines off the ground and prevent the fruit from rotting.
Transplanting Seedlings
Transplanting seedlings is another method to grow watermelons, especially in regions with shorter growing seasons or where you want to get a head start on the growing process. This method involves starting watermelon seeds indoors or in a greenhouse and later transplanting the seedlings into the garden once the weather and soil conditions are suitable.
To transplant watermelon seedlings, follow these steps:
- Start seeds indoors: Begin by starting watermelon seeds indoors 4-6 weeks before the last expected frost date in your area. Use seedling trays or pots filled with seed starting mix. Keep the soil consistently moist and provide adequate light for seedling growth.
- Harden off seedlings: About a week before transplanting, gradually expose the seedlings to outdoor conditions to acclimate them. Start with a few hours of outdoor exposure and gradually increase the time and intensity of exposure over the course of a week.
- Prepare the soil: Choose a well-drained location in your garden with full sun exposure. Prepare the soil as mentioned earlier, ensuring it is loose, fertile, and has the appropriate pH level for watermelons.
- Dig planting holes: Dig holes in the garden bed that are slightly larger than the root ball of the seedlings.
- Transplant the seedlings: Carefully remove the seedlings from their containers and place them into the prepared holes. Gently backfill the soil around the roots, ensuring the seedlings are planted at the same depth as they were in their containers.
- Water the seedlings: After transplanting, give the seedlings a thorough watering to settle the soil around the roots. Maintain regular watering to keep the soil evenly moist as the seedlings establish themselves in the garden.
Remember to provide proper care and maintenance to your watermelon plants as they grow. This includes regular watering, fertilizing as needed, and monitoring for pests and diseases. For more tips and guidance on growing watermelons, check out our article on tips for growing watermelons.
Watering and Fertilizing
Proper watering and fertilizing are essential for the successful growth and development of watermelons. Understanding the watering techniques and nutrient requirements of watermelons is key to ensuring a bountiful harvest.
Proper Watering Techniques
Watermelons have high water needs, especially during hot and dry periods. Consistent and adequate moisture is crucial for their growth and fruit production. Here are some important watering techniques to keep in mind:
- Deep Watering: Watermelons have deep root systems, so it’s important to water deeply rather than superficially. This encourages the roots to grow deeper, making the plants more resilient to drought conditions.
- Infrequent Watering: Instead of frequent light watering, it’s best to water watermelons deeply and less frequently. This promotes root growth and helps the plants develop a stronger foundation.
- Mulching: Applying a layer of organic mulch around the base of the watermelon plants helps retain soil moisture, suppresses weed growth, and regulates soil temperature. This is especially beneficial in hot climates.
- Watering in the Morning: Watering watermelons in the morning allows the foliage to dry off during the day, reducing the risk of fungal diseases. Avoid watering in the evening to prevent prolonged leaf wetness.
By following these proper watering techniques, you can provide watermelons with the moisture they need for healthy growth and optimum fruit production.
Nutrient Requirements and Fertilization
Watermelons require a balanced supply of nutrients to thrive. Understanding their nutrient requirements and implementing proper fertilization techniques is crucial. Here’s a breakdown of the key nutrients watermelons need:
| Nutrient | Function |
|---|---|
| Nitrogen (N) | Promotes leaf and stem growth |
| Phosphorus (P) | Facilitates root development and flowering |
| Potassium (K) | Enhances fruit development and overall plant vigor |
To ensure your watermelons receive the necessary nutrients, consider the following fertilization tips:
- Soil Testing: Conduct a soil test to determine the nutrient levels and pH of the soil. This will help you identify any deficiencies or imbalances that need to be addressed.
- Organic Matter: Before planting, incorporate well-rotted compost or organic matter into the soil to improve its fertility and nutrient-holding capacity. This provides a good foundation for the plants.
- Slow-Release Fertilizer: Apply a slow-release fertilizer with a balanced NPK ratio (such as 10-10-10 or 14-14-14) at planting time. This provides a steady supply of nutrients over an extended period.
- Side-Dressing: As the watermelon plants grow, side-dress them with additional fertilizer rich in nitrogen and potassium to support plant growth and fruit development. Follow the instructions on the fertilizer package for proper application rates.
- Avoid Over-Fertilization: While it’s important to provide adequate nutrients, avoid over-fertilizing as this can lead to excessive vegetative growth and reduced fruit production.
For more detailed information on fertilizing watermelons, check out our article on fertilizing watermelons.
By following proper watering techniques and providing the right nutrients through fertilization, you can ensure healthy watermelon plants and enjoy a sweet and juicy harvest. Remember to always monitor your plants’ moisture levels and adjust watering as needed, while considering the specific requirements of your growing environment. For additional tips on growing watermelons, be sure to read our article on tips for growing watermelons.
Managing Pests and Diseases
To ensure a successful watermelon harvest, it’s important to be aware of the common pests and diseases that can affect your plants. By understanding these potential threats and implementing preventive measures, you can protect your watermelon crop and promote healthy growth.
Common Pests and Diseases
Watermelons are susceptible to various pests and diseases that can hinder their growth and affect fruit quality. Some of the common pests that may pose a threat to your watermelon plants include:
- Aphids: These small insects feed on the sap of watermelon plants, causing yellowing leaves and stunted growth.
- Cucumber beetles: These beetles can transmit bacterial diseases and damage both the foliage and fruit of watermelon plants.
- Squash bugs: These pests can cause wilting, yellowing, and leaf damage by sucking sap from watermelon plants.
- Spider mites: These tiny pests can infest watermelon plants, causing yellow stippling on leaves and webbing.
In addition to pests, watermelon plants can also be susceptible to various diseases, such as:
- Fusarium wilt: This fungal disease can cause wilting and yellowing of leaves, leading to the eventual death of the plant.
- Powdery mildew: This fungal infection appears as a white powdery coating on the leaves, affecting plant health and fruit production.
- Anthracnose: This fungal disease causes dark, sunken lesions on the fruit, leading to rotting and reduced quality.
Prevention and Control Methods
Implementing preventive measures is crucial in managing pests and diseases in your watermelon garden. Here are some effective strategies to help protect your watermelon plants:
- Crop rotation: Rotate your watermelon crop with other plants to disrupt pest and disease cycles.
- Companion planting: Planting companion plants that repel pests or attract beneficial insects can help deter pests from attacking your watermelons. For more information on companion plants for watermelons, check out our article on companion plants for watermelons.
- Monitoring: Regularly inspect your plants for signs of pests or diseases. Early detection allows for prompt action to prevent further damage.
- Cultural practices: Implement proper cultural practices, such as spacing plants adequately, maintaining good airflow, and removing weeds, to reduce the risk of diseases.
- Organic insecticides: Consider using organic insecticides, such as neem oil or insecticidal soap, to control pests. Always follow the instructions on the product label.
When it comes to managing diseases, prevention is key. Here are some preventive measures to keep diseases at bay:
- Clean planting materials: Start with healthy seedlings or seeds from reputable sources to minimize the risk of introducing diseases.
- Proper watering: Avoid overwatering, as wet foliage can promote the development of fungal diseases. Water at the base of the plant to keep leaves dry.
- Fungicides: In severe cases, fungicides may be necessary to control fungal diseases. Consult with a local gardening expert or extension service for appropriate recommendations.
By being vigilant and taking proactive steps to prevent and control pests and diseases, you can ensure the health and productivity of your watermelon plants. For tips on when to harvest watermelons and how to determine ripeness, check out our article on when to harvest watermelons. For more information on fertilizing watermelons and additional tips for growing them, visit our article on tips for growing watermelons.
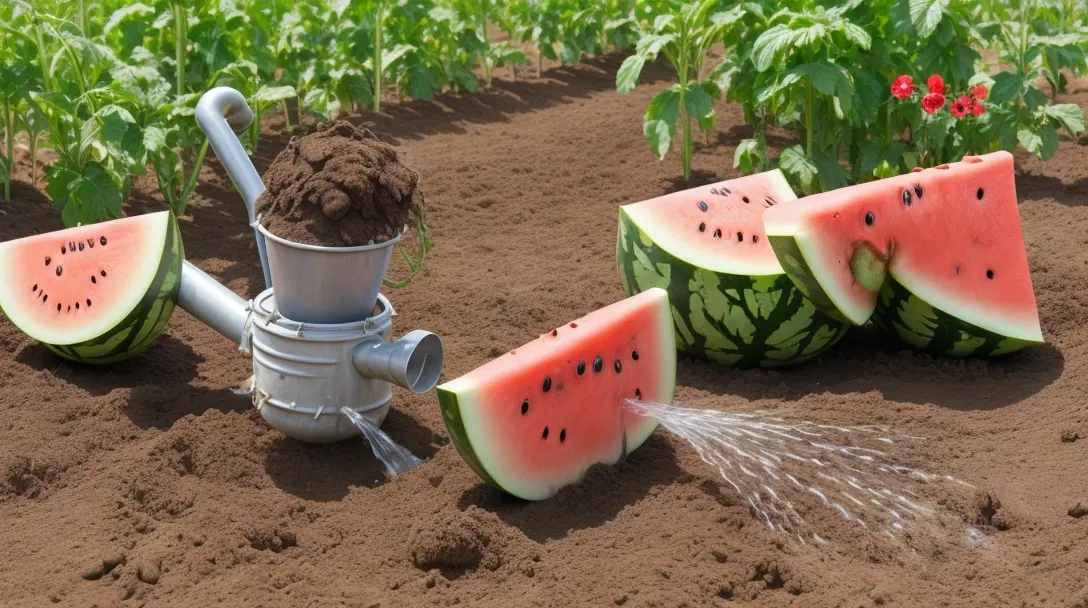
Harvesting and Storing Watermelons
After weeks of nurturing your watermelon plants, the time has finally come to enjoy the fruits of your labor. Harvesting watermelons at the right time and storing them properly will ensure that you can savor their sweet, juicy goodness. In this section, we will discuss determining ripeness, harvesting techniques, and proper storage tips for watermelons.
Determining Ripeness
Knowing when a watermelon is ripe and ready for harvest is essential to ensure optimal flavor and sweetness. Here are a few indicators to look out for:
- Sound: Tap the watermelon gently with your palm. A ripe watermelon will produce a deep, resonant sound, while an unripe one will sound hollow.
- Color: The skin of a ripe watermelon will have a dull appearance instead of a shiny one. Additionally, the underside of the watermelon should have a creamy yellow color, indicating that it has ripened on the vine.
- Tendril: Check the tendril, the curly vine near the stem. If it has turned brown and dried up, it is a sign that the watermelon is ready for harvest.
- Thump: Give the watermelon a gentle thump with your thumb. A ripe watermelon will produce a dull, deep sound, while an unripe one will sound more hollow.
By considering these indicators, you can determine the ripeness of your watermelons and ensure they are at their peak flavor.
Harvesting Techniques
When it comes to harvesting watermelons, proper techniques are essential to prevent damage to the fruit. Follow these steps for a successful harvest:
- Use a sharp knife or garden shears: Cut the stem of the watermelon carefully, leaving a few inches of stem attached to the fruit. This stem helps to prolong the shelf life of the watermelon.
- Support the fruit: As you cut the stem, support the weight of the watermelon with your free hand to avoid dropping or damaging the fruit.
- Avoid pulling: Do not attempt to pull the watermelon off the vine, as this can cause damage to both the fruit and the plant.
Remember, watermelons are heavy, so take care when lifting them to avoid strain or injury.
Proper Storage Tips
To keep your harvested watermelons fresh and delicious, proper storage is crucial. Here are a few tips to follow:
- Cool, dry place: Store watermelons in a cool, dry area away from direct sunlight.
- Avoid stacking: Do not stack watermelons on top of each other, as this can lead to bruising and damage.
- Do not refrigerate uncut watermelons: Uncut watermelons should be stored at room temperature for the best flavor. Refrigerate them only once they have been cut.
- Refrigerate cut watermelons: Once you have cut into a watermelon, place the remaining pieces in an airtight container and refrigerate. Consume within a few days for the freshest taste.
By following these storage tips, you can prolong the shelf life of your watermelons and enjoy them over an extended period.
Remember, growing watermelons requires patience and care. To learn more about companion plants for watermelons or tips for growing them successfully, check out our articles on companion plants for watermelons and tips for growing watermelons. Enjoy the bountiful harvest of your hard work!